So with this make-shift equipment, a lot of time was spent taking some sample photographs and understanding how the light is impacting the model. (One of our friends – Rolf Shroff – had volunteered to be a model here). Through the overall experience, there were a couple of very interesting things that we learnt about lighting for portrait photography –
1. When the main light is used directly in front of the subject, most of the times, the image tends to be very flat. We figured that shadows play a very interesting role in defining the face or emphasizing certain features. The way we use lights and shadows also dramatically changes the mood of the image.
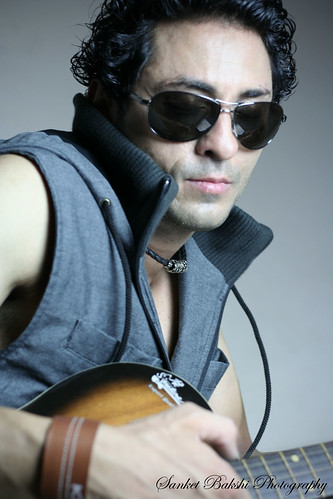
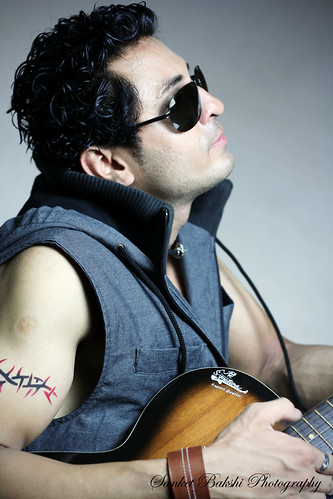
3. Accentuating the prominent face features – such as the face cut, nose or eyes can be really easy once you start to get a hang of how the lights work. We tried some experiments with holding the light above Rolf’s head at an angle to accentuate face cut and it gave some really good results. The key point is to understand what features need to be emphasized for a particular shot and then to position the lights accordingly.
 Retrospectively, looking at these images that I got, I think it was a decent job for first timers handling the light. However, for my images, I think I could’ve done better at using the in-camera white balance. The pictures right now very cool hues. After looking at them again with a fresh mind, these cool hues somehow do not work for me. Probably even a simple step like setting the in-camera white balance to “fluorescent” would’ve given the warm hues that would’ve taken off the “artificial lighting” feeling that is currently prominent. Secondly, probably the biggest mistake was that I dint shoot raw for this shoot. Shooting raw allows you to define the attributes such as color temperature, contrast, saturation etc. This is something that I kept in mind for all the future “studio” shots that I did with this make-shift equipment so far.
 These are some of the basics of lighting that we learnt hands-on during this session. Click here to see some of the good ones that I got during this shoot. Definitely a very interesting way to spend a weekend morning!
No comments:
Post a Comment